LINE ID
andykao1026
Email
[email protected]
Address
10488 台北市中山區南京東路3段219號9樓
GO TOP
最新更新日期: 2023 年 6 月 15 日
前一篇LAMP安裝教學 (上) 文章內容提要:月流量為8TB,平均同時在線人數大約為500人左右,現在 VPS伺服器的 TTFB過高,伺服器規格為:8CPU、16RAM、200GB SSD。
敦緯數位服務提供了以下規格的實體伺服器主機,使用SASS硬碟,4CPU、16G RAM、1TB SASS,經過三天的伺服器優化以及壓力測試,直接完勝本來的VPS伺服器,以下為優化結果:
| 項目 | 某主機商 | 敦緯數位 |
| TTFB | 5 – 8 秒(s) | 868毫秒(ms) |
| Load | 10.80秒(s) | 5.68秒(s) |
| Finish | 33.91秒(s) | 27.76秒(s) |
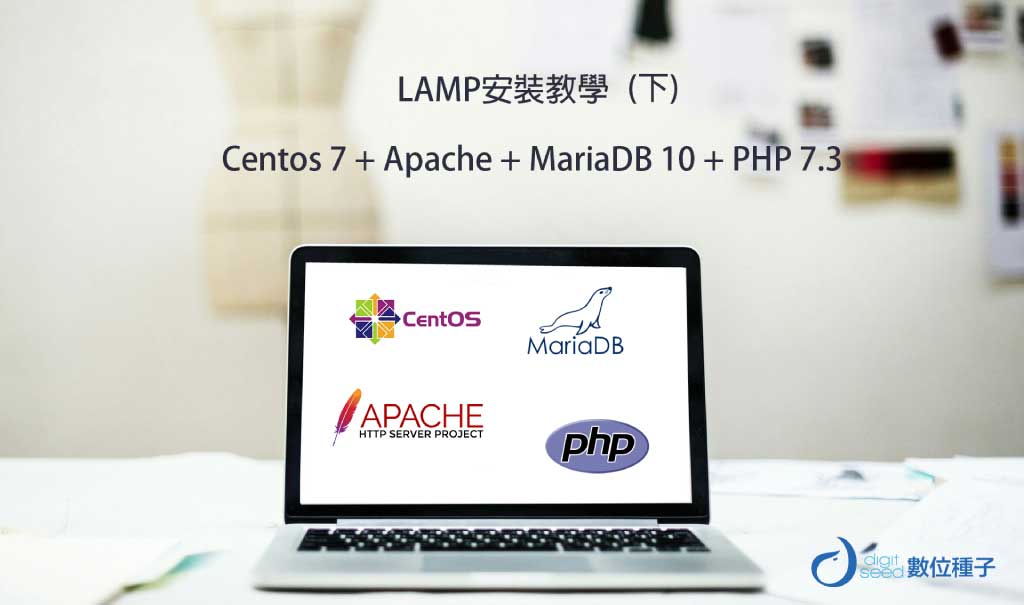
接下來將繼續設定並最佳化 LAMP伺服器 ,此篇LAMP教學文章安裝的作業系統為 Centos 7 + Apache 2.4 + MariaDB 10 + PHP 7.3,如果大家實做過後有什麼問題,歡迎大家點選頁面旁的FB聊天圖示,或是填寫聯絡表單,小編會盡快回覆您的問題。
yum install -y memcached php-pecl-memcache
vi /etc/sysconfig/memcached
CACHESIZE:記憶體緩存空間(GB),可依需求更改,此次設定改為1024 GB
PORT=”11211″
USER=”memcached”
MAXCONN=”1024″
CACHESIZE=”1024″
OPTIONS=””
systemctl start memcached;systemctl enable memcached
systemctl restart httpd
先安裝 php-pear 及 gcc ,用來編譯 PHP 的 imagick 模組:
yum install -y php-pear gcc
yum install -y php-imagick
如果出現此警告訊息,請先執行 pecl channel-update pecl.php.net
WARNING: channel “pecl.php.net” has updated its protocols, use “pecl channel-update pecl.php.net” to update
pecl channel-update pecl.php.net
接著再執行一次pecl install imagick
pecl install imagick
downloading imagick-3.4.4.tgz …
Starting to download imagick-3.4.4.tgz (253,434 bytes)
……………………………………………..done: 253,434 bytes
19 source files, building
running: phpize
Configuring for:
PHP Api Version: 20170718
Zend Module Api No: 20170718
Zend Extension Api No: 320170718
Please provide the prefix of ImageMagick installation [autodetect] : autodetect
Build process completed successfully
Installing ‘/usr/lib64/php/modules/imagick.so’
Installing ‘/usr/include/php/ext/imagick/php_imagick_shared.h’
install ok: channel://pecl.php.net/imagick-3.4.4
configuration option “php_ini” is not set to php.ini location
You should add “extension=imagick.so” to php.ini
systemctl restart httpd
php -m |grep imagick
imagick
cp /etc/httpd/conf/httpd.conf /etc/httpd/conf/httpd.conf.bak
vi /etc/httpd/conf/httpd.conf
依需求自行修改
Timeout:調整timeout時間(秒)
KeepAlice:連續請求的功能
MaxKeepAliveRequests:Client 端建立連線後,可以要求最大的檔案數
KeepAliveTimeout:Clinet 端多久沒有在繼續請求就把他踢下線(秒)
ServerTokens:顯示或隱藏 HTTP 檔頭內 Apache、Nginx、PHP 的版本
RequestReadTimeout:防止DDOS,設定header完成的允許時間(秒)
Timeout 60
KeepAlive On
MaxKeepAliveRequests 500
KeepAliveTimeout 15
ServerTokens Prod
RequestReadTimeout header=20-40,MinRate=500 body=20,MinRate=500
apachectl -t
Syntax OK
systemctl restart httpd
cp /etc/httpd/conf.modules.d/00-mpm.conf /etc/httpd/conf.modules.d/00-mpm.conf.bak
vi /etc/httpd/conf.modules.d/00-mpm.conf
依需求自行修改
註解
#LoadModule mpm_prefork_module modules/mod_mpm_prefork.so
取消註解
LoadModule mpm_worker_module modules/mod_mpm_worker.so
# Select the MPM module which should be used by uncommenting exactly
# one of the following LoadModule lines:
# prefork MPM: Implements a non-threaded, pre-forking web server
# See: http://httpd.apache.org/docs/2.4/mod/prefork.html
#LoadModule mpm_prefork_module modules/mod_mpm_prefork.so
# worker MPM: Multi-Processing Module implementing a hybrid
# multi-threaded multi-process web server
# See: http://httpd.apache.org/docs/2.4/mod/worker.html
#
LoadModule mpm_worker_module modules/mod_mpm_worker.so
# event MPM: A variant of the worker MPM with the goal of consuming
# threads only for connections with active processing
# See: http://httpd.apache.org/docs/2.4/mod/event.html
#
#LoadModule mpm_event_module modules/mod_mpm_event.so
apachectl -t
Syntax OK
systemctl restart httpd
apachectl -V
Server version: Apache/2.4.6 (CentOS)
Server built: Apr 24 2019 13:45:48
Server’s Module Magic Number: 20120211:24
Server loaded: APR 1.4.8, APR-UTIL 1.5.2
Compiled using: APR 1.4.8, APR-UTIL 1.5.2
Architecture: 64-bit
Server MPM: worker
threaded: yes (fixed thread count)
forked: yes (variable process count)
NOTE: RUNNING ALL PARTS OF THIS SCRIPT IS RECOMMENDED FOR ALL MariaDB SERVERS IN PRODUCTION USE! PLEASE READ EACH STEP CAREFULLY!
In order to log into MariaDB to secure it, we’ll need the current password for the root user. If you’ve just installed MariaDB, and you haven’t set the root password yet, the password will be blank, so you should just press enter here.
Enter current password for root (enter for none): enter
#如果從來未建立過root使用者,直接按enter鍵繼續
OK, successfully used password, moving on…
Setting the root password ensures that nobody can log into the MariaDB root user without the proper authorisation.
Set root password? [Y/n] y #設定root密碼
New password: #新密碼
Re-enter new password: #再輸入一次密碼
Password updated successfully!
Reloading privilege tables..
… Success!
By default, a MariaDB installation has an anonymous user, allowing anyone to log into MariaDB without having to have a user account created for them. This is intended only for testing, and to make the installation go a bit smoother. You should remove them before moving into a production environment.
Remove anonymous users? [Y/n] y #是否移除訪客使用者
… Success!
Normally, root should only be allowed to connect from ‘localhost’. This ensures that someone cannot guess at the root password from the network.
Disallow root login remotely? [Y/n] y #是否禁止root遠端連線
… Success!
By default, MariaDB comes with a database named ‘test’ that anyone can access. This is also intended only for testing, and should be removed before moving into a production environment.
Remove test database and access to it? [Y/n] y #是否移除test使用者的資料表以及權限
– Dropping test database…
… Success!
– Removing privileges on test database…
… Success!
Reloading the privilege tables will ensure that all changes made so far will take effect immediately.
Reload privilege tables now? [Y/n] y #是否重新加載一次資料表
… Success!
Cleaning up…
All done! If you’ve completed all of the above steps, your MariaDB installation should now be secure.
Thanks for using MariaDB!
systemctl restart mariadb
請與我聯繫,領取apache、PHP、MariaDB的設定檔

![[GTM教學] 在WordPress加入同意聲明模式V2](https://hopesmarketing.tw/wp-content/uploads/2025/01/GTM-Consent-Mode-1-768x432.jpg)
![[WordPress] 使用 Cloudflare WAF 阻擋惡意流量攻擊](https://hopesmarketing.tw/wp-content/uploads/2024/01/cloudflare-waf-wordpress.jpg)